Indigenous aquarium
 As a kid I used to have a tropical aquarium. When I moved out of my parents house, the aquarium was emptied and stored in the attic. A decade later my parents cleared the attic, and the aquarium had to go. Instead of storing it empty in my basement, I decided to put some simple plants and fish in it for the enjoyment of my kids (and my own). Easy maintenance and low cost are the key words.
The aquarium is installed on its supporting frame against a wall in my main working area in the basement. I made a simple lighting fixture from plywood and painted it white.
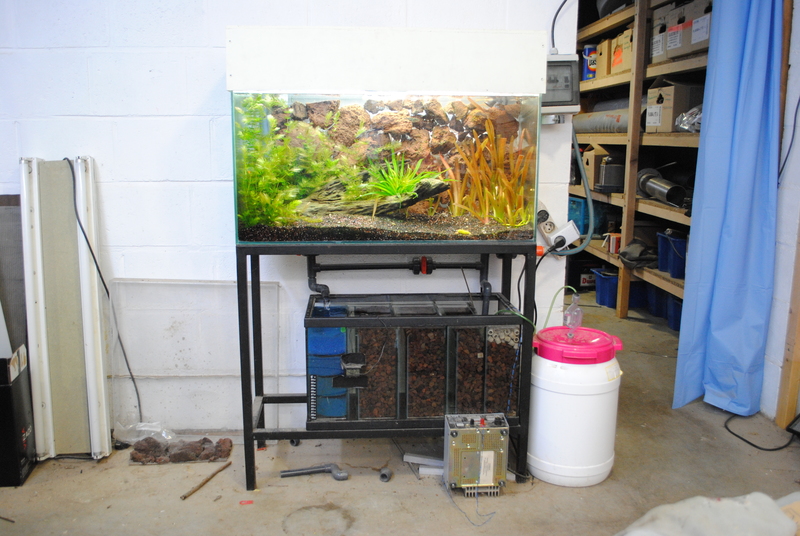
The tank itself is 90cm W x 50H x 40D and holds 180 liters of water.
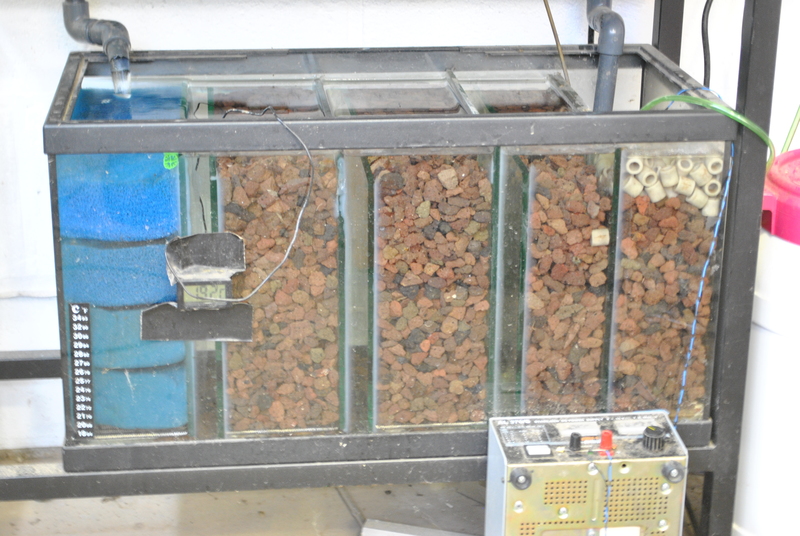
Below the tank I have a 100 liter sump, constructed from an old tank. The compartment on the left has 2 slabs of coarse filter sponge, and 2 slabs of fine sponge. The other three compartments are filled with lava rock. A fourth and smaller compartment is filled with lava rock and Siporax tubes, behind it is the pump compartment (not visible here).
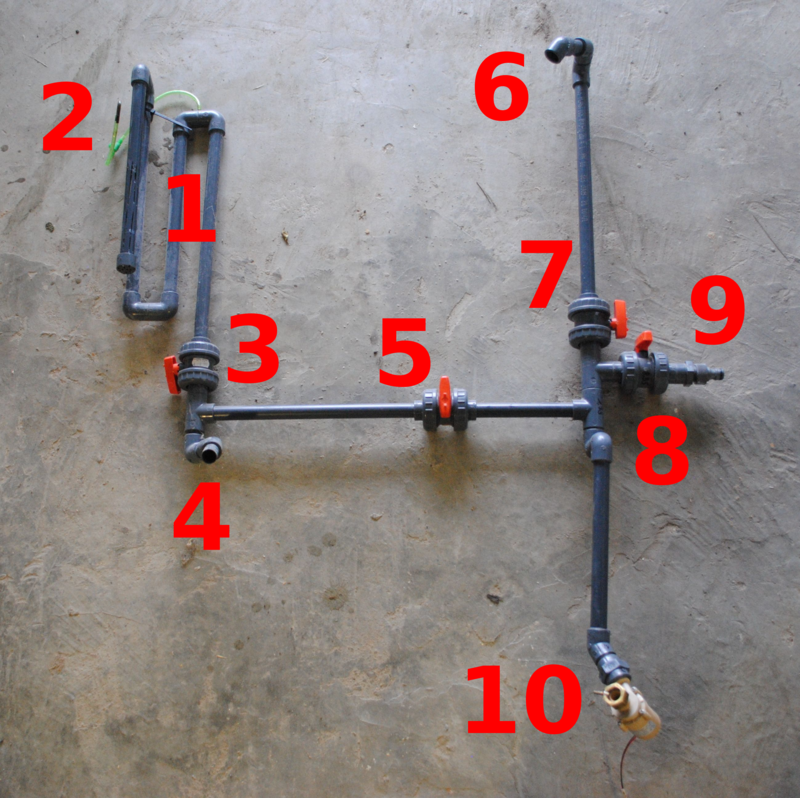
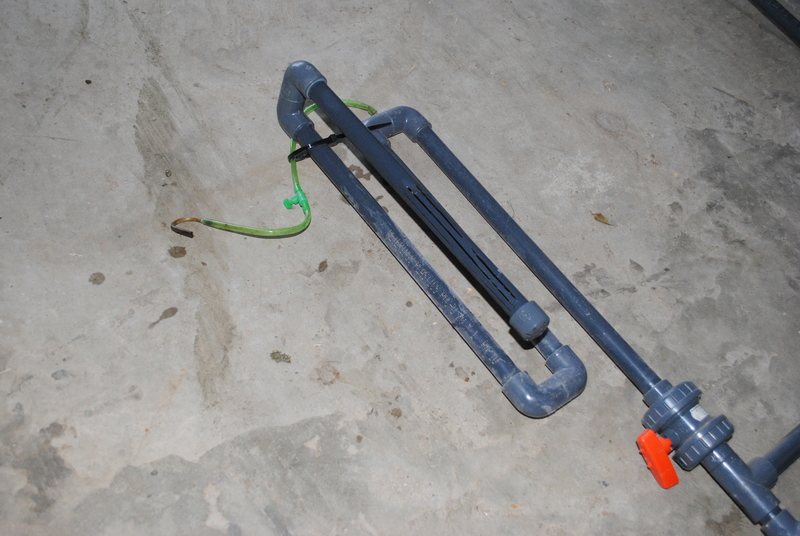
On the back of the tank I have a manifold that handles the water flow between the tank and the sump. The following parts are marked in the picture below:
- Siphon from tank to sump, water supply to sump
- Air intake tube that stops siphon action when the water level in the tank drops. This tube is positioned just below the water surface of the tank. If the water level in the tank would drop (due to the pump stopping or a leak in the sump), it will draw in air and thus stop the flow in the siphon, preventing more water from running into and overflowing the sump.
- Sump supply control valve, sets the flow of water from tank into the sump
- Water supply from tank to sump
- Bypass valve
- Water supply from sump to tank
- Tank supply control valve
- Tap water valve
- Tap water connection, a garden hose from a house water tap connects here
- Sump pump
Several scenario’s are possible with this setup:
- Tank bypass: sometimes it is necessary to disconnect the tank from the sump. To ensure the (aerobic) bacteria in the sump do not die, the water circulation through the sump is kept active using the bypass. Bypass valve 5 open, tank supply valve 7 closed, sump supply valve 3 closed, tap water valve 9 closed.
- Empty tank to drain: bypass valve 5 closed, tank supply valve 7 closed, sump supply valve 3 open, tap water valve 9 open. The other end of the hose connected to 9 is hung in a sink.
- Fill tank from tap: bypass valve 5 closed, tank supply valve 7 open, sump supply valve 3 open, tap water valve 9 open. The other end of the hose connected to 9 is connected to a running tap.
- Purge air from siphon: bypass valve 5 open, tank supply valve 7 closed, sump supply valve 3 open, tap water valve 9 closed. The water supply from tank to sump 4 is closed with a finger until the pump has purged all air from the siphon, and the water intake on the siphon 1 stops bubbling.
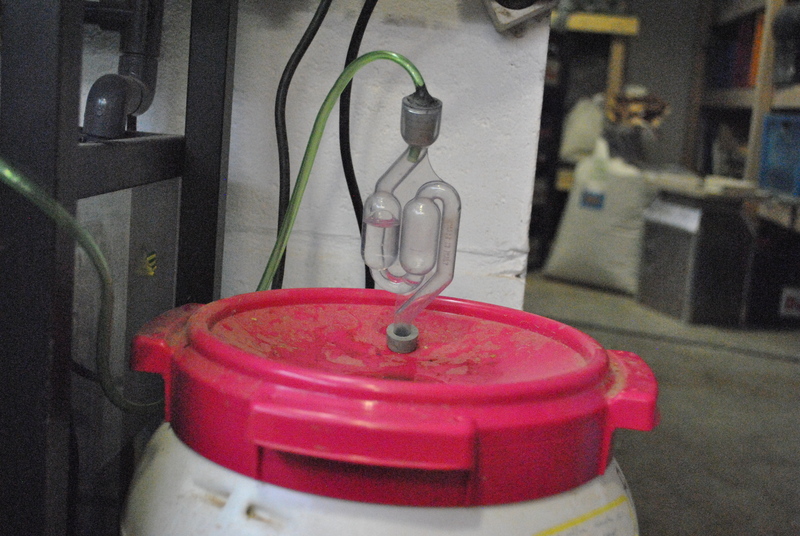
For plant growth I use CO2 fertilisation. I have a tank of fermenting bio-mass (at the moment I am fermenting prunes from the garden) that generates CO2 gas, which is fed into the suction side of the sumps’ pump and thus get atomized into the water stream to the tank.
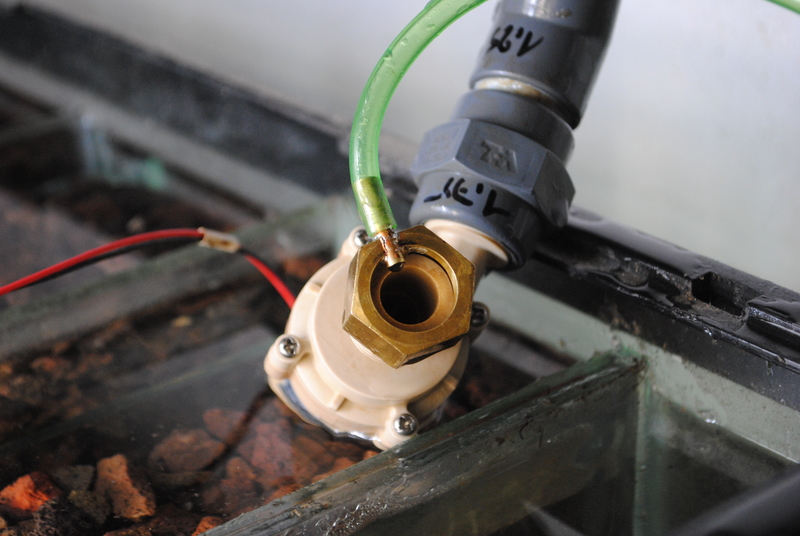
I turned down a brass 1/2” threaded cap and drilled a radial hole where a brass tube was soldered in. The tube from the CO2 tank connects to this tube, through which the CO2 is injected into the suction side of the pump.
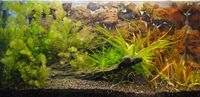
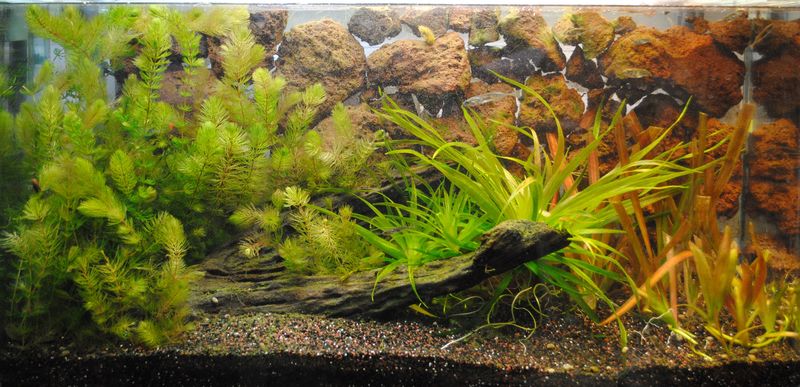
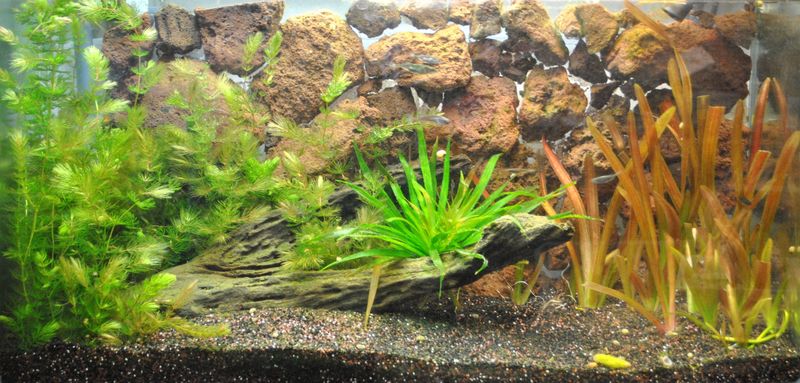
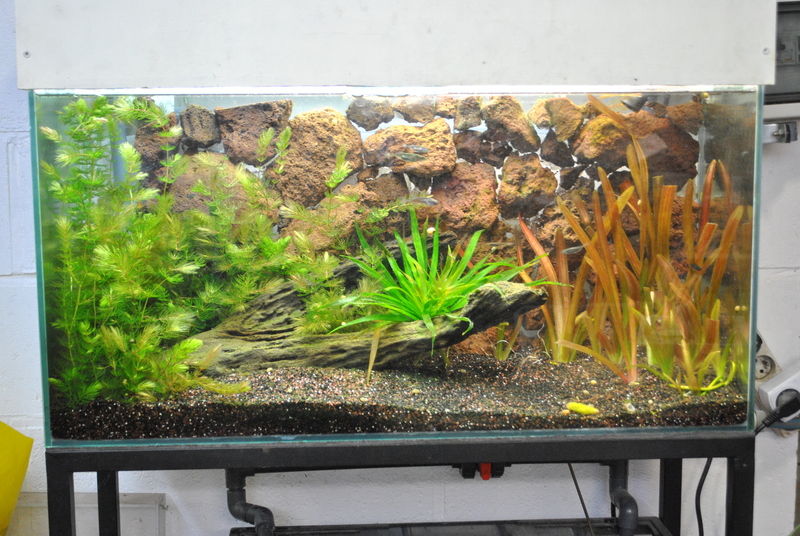
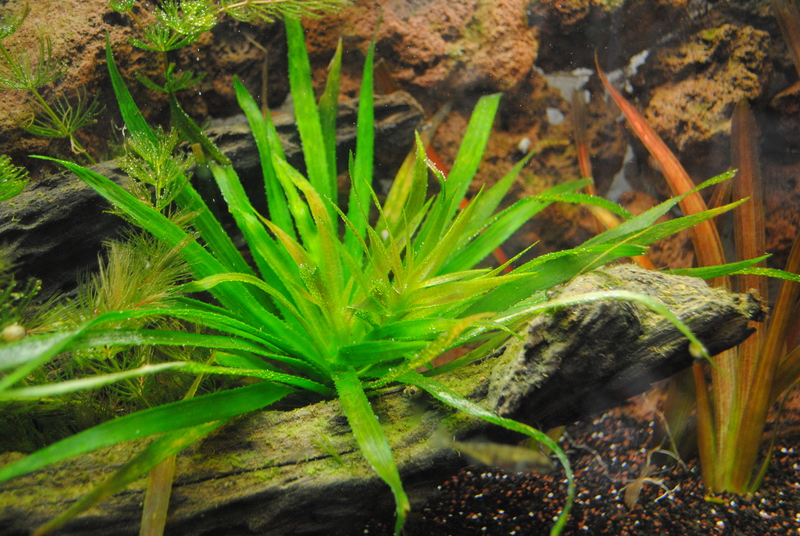
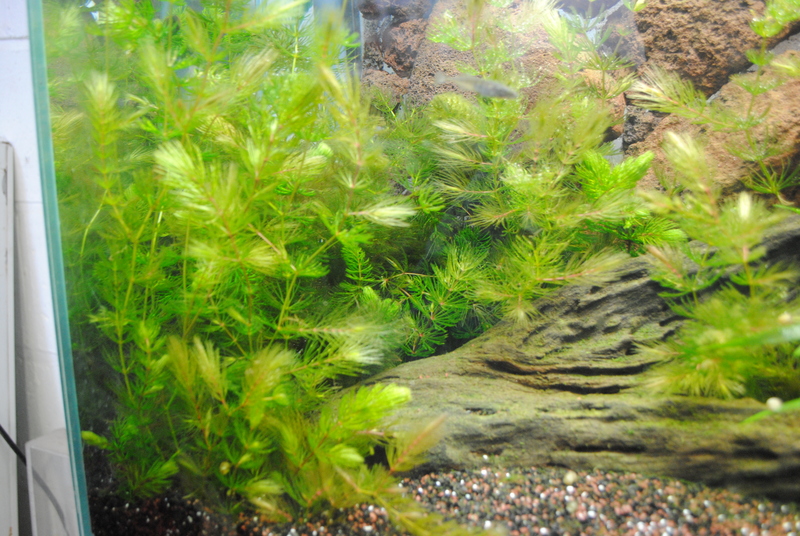
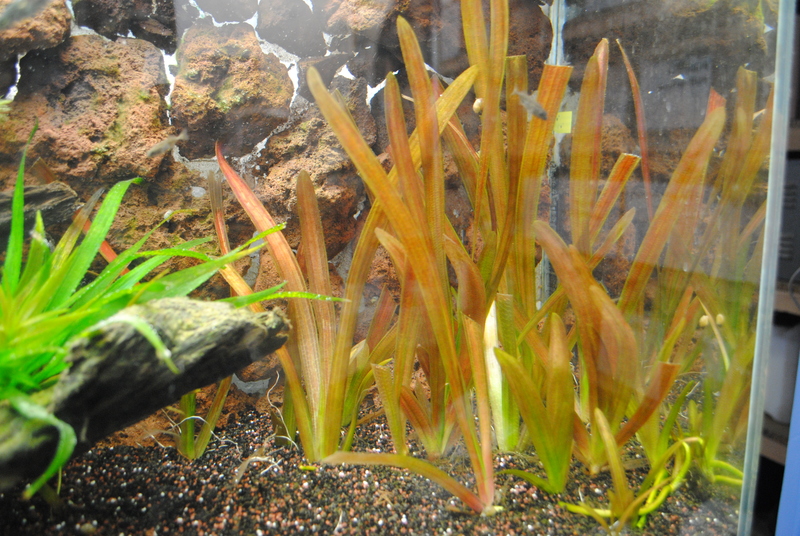
I have 4 different species of plants in the tank: Ceratophyllum Demersum (Grof Hoornblad), Ceratophyllum Submersum (Fijn Hoornblad), Vallisneria Spiralis and something resembling Stratiotes Aloides (Krabbenscheer) but which I have yet to determine. All were acquired from nearby ponds and creeks.
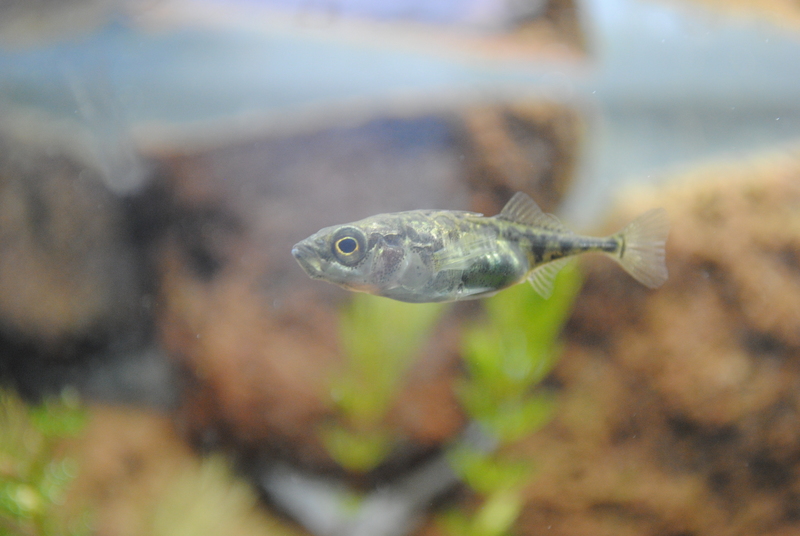
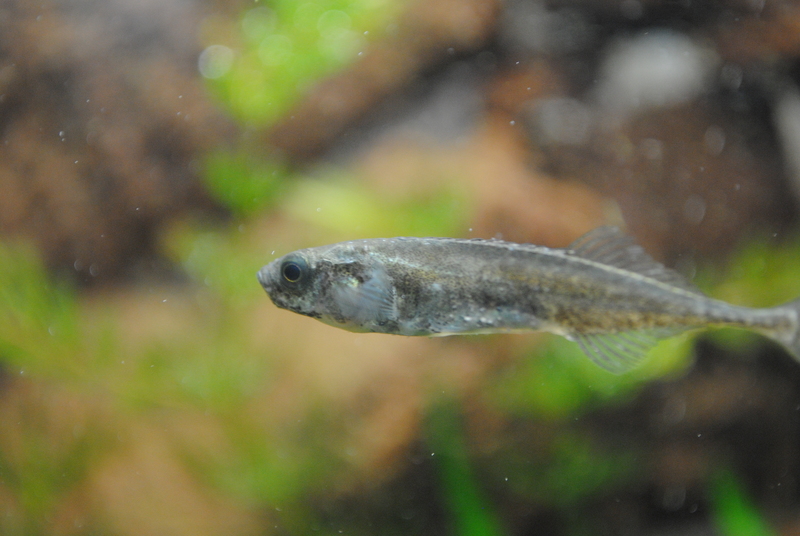
My tank is heavy on plants and light on fish. I keep around 10 small Sticklebacks which were caught in a nearby creek. The fish are fed a combination of live and frozen food. Being located in the basement, the aquarium temperature stays in a 15 - 20 degrees C range.